
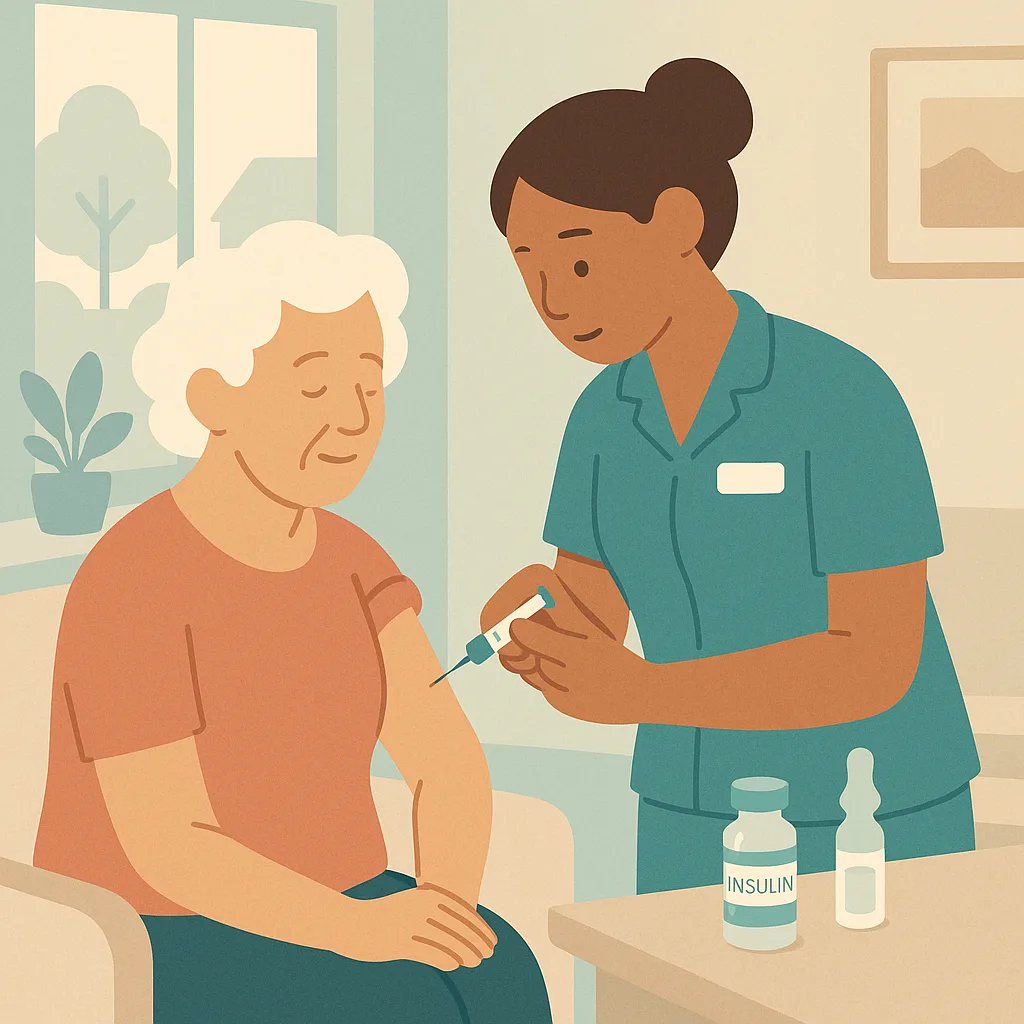
Subcutaneous, Intramuscular and Insulin Injections training
This annual refresher covers the safe administration of subcutaneous and intramuscular injections, including insulin, in the care setting setting. You will review injection sites, techniques, safety procedures and documentation requirements. This module provides the knowledge component only; practical competency must be assessed separately through direct observation.
What This Training Covers
A clear, practical grounding in subcutaneous, intramuscular and insulin injections.
This annual refresher covers the safe administration of subcutaneous and intramuscular injections, including insulin, in the care setting setting. You will review injection sites, techniques, safety procedures and documentation requirements. This module provides the knowledge component only; practical competency must be assessed separately through direct observation.
Learning Outcomes
By the end, your staff will be able to:
What Your Team Will Learn
A closer look at the subcutaneous, intramuscular and insulin injections module.
The module is built in short, practical sections. Each one teaches a part of the topic, then applies it to a real care scenario and checks understanding before moving on.
Understanding Injection Types and Routes
Subcutaneous injections go into the fatty tissue under the skin and are used for medications like insulin and blood thinners. Intramuscular injections go deeper into muscle tissue and are used for vaccines and some antibiotics. Each route requires different needle lengths, angles and sites. Using the wrong route can cause pain, poor absorption or tissue damage.
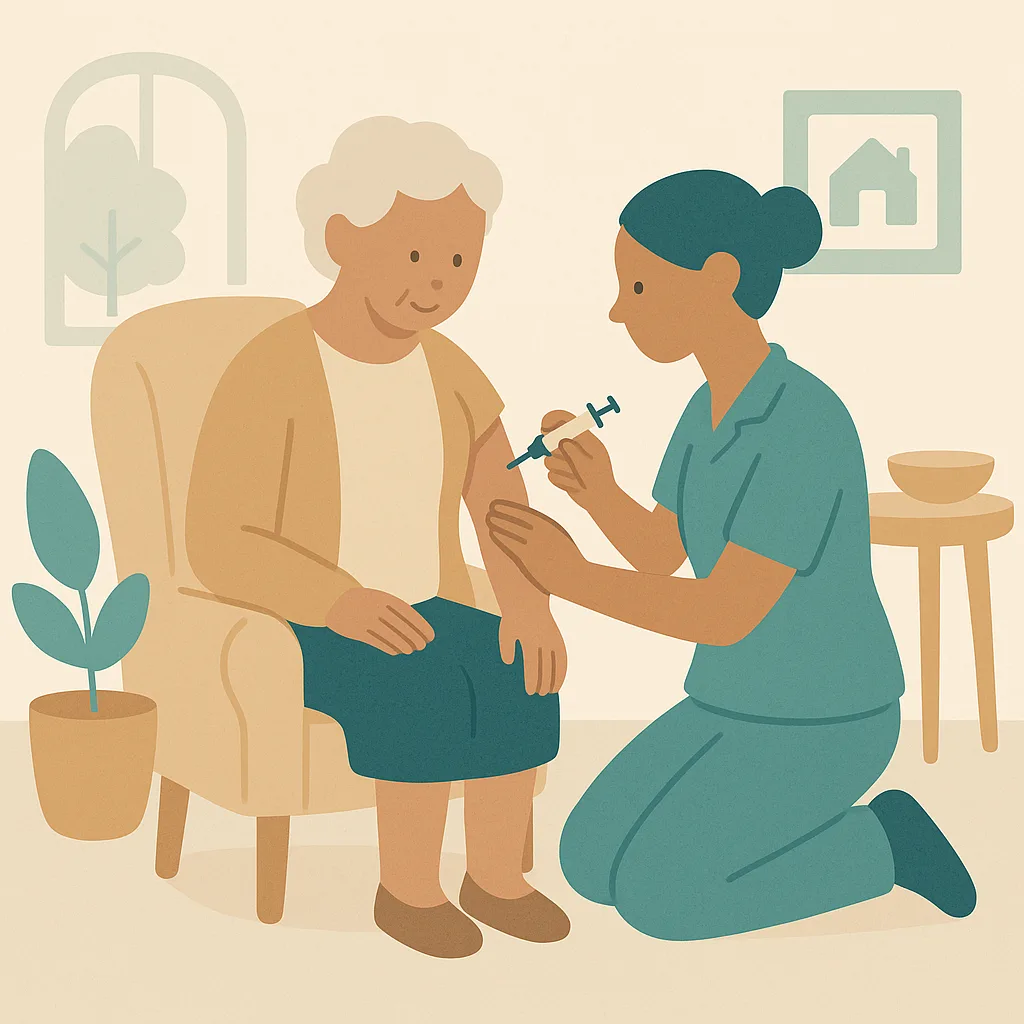
Selecting and Rotating Injection Sites
For subcutaneous injections, use the abdomen, outer thighs, outer upper arms or upper buttocks. For intramuscular injections, use the deltoid muscle in the upper arm or the vastus lateralis in the thigh. Always rotate sites to prevent lipohypertrophy, which is lumpy tissue that affects medication absorption. Keep a site rotation record and avoid areas with bruising, scarring, inflammation or broken skin.
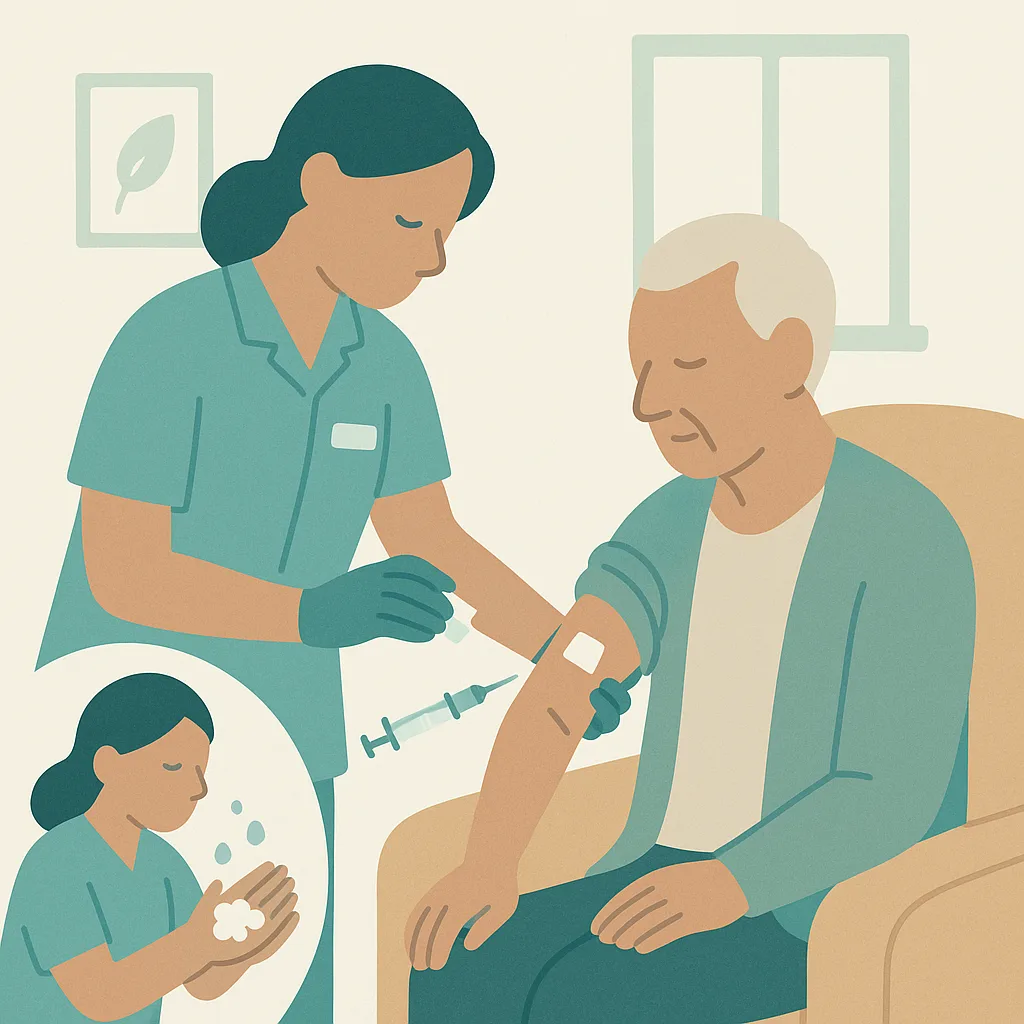
Infection Control and Hand Hygiene
Perform hand hygiene before and after every injection procedure. Clean the injection site with an alcohol wipe and allow it to dry completely for at least 30 seconds. Never touch the cleaned area or the needle after cleaning. Use a new sterile needle and syringe for every injection. Aseptic technique prevents introducing bacteria that could cause abscesses or bloodstream infections.
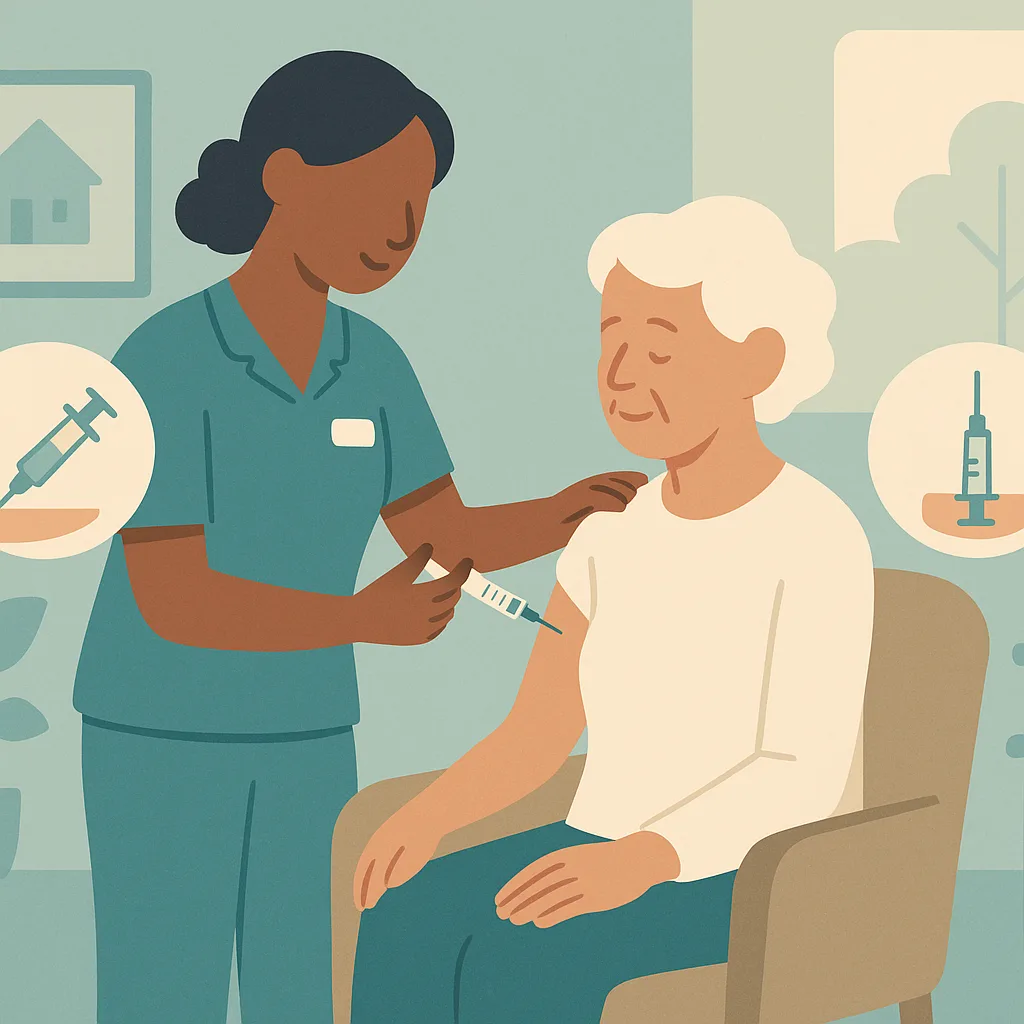
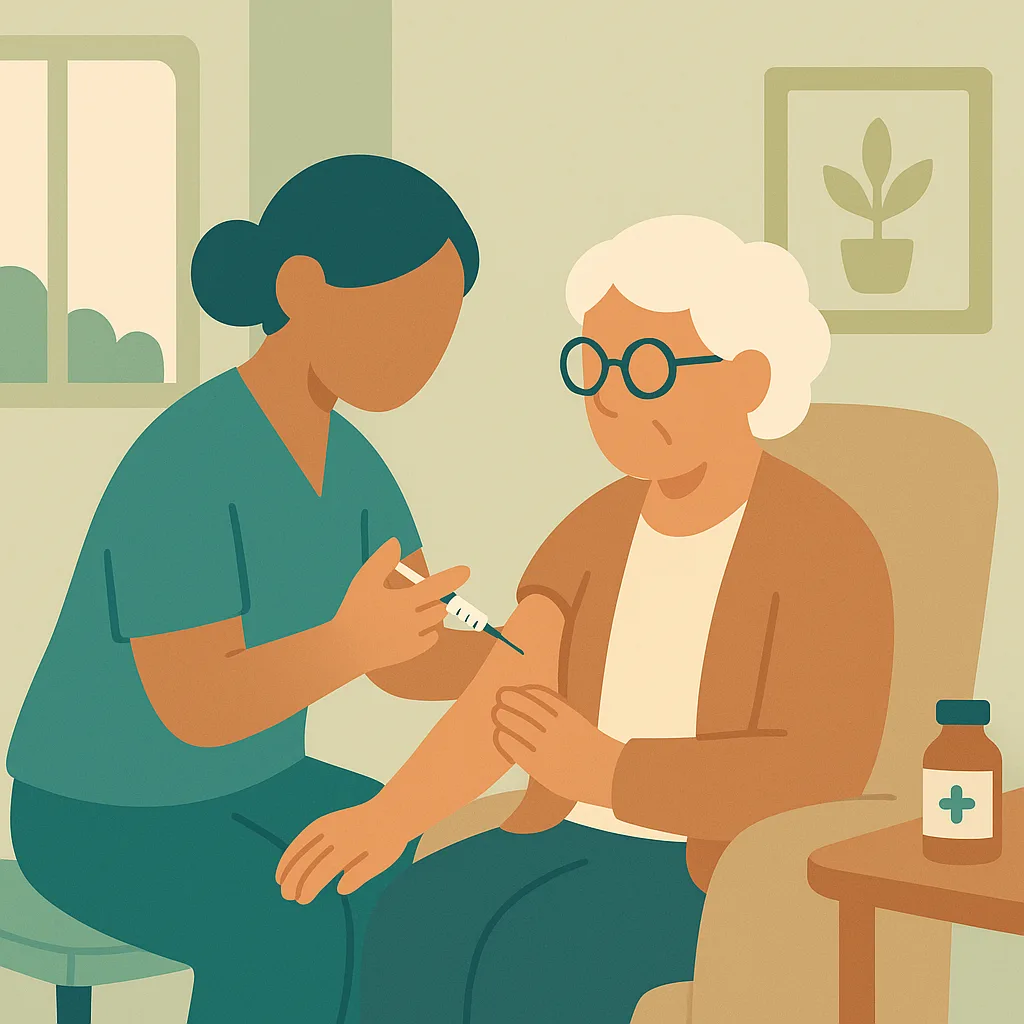
Safe Injection Technique and Needle Angles
For subcutaneous injections, pinch the skin gently and insert the needle at 45 to 90 degrees depending on needle length and body size. For intramuscular injections, stretch the skin and insert at 90 degrees. Inject slowly and steadily. Do not aspirate for subcutaneous injections or vaccines. After injecting, withdraw the needle at the same angle, apply gentle pressure if needed, and never recap the needle.
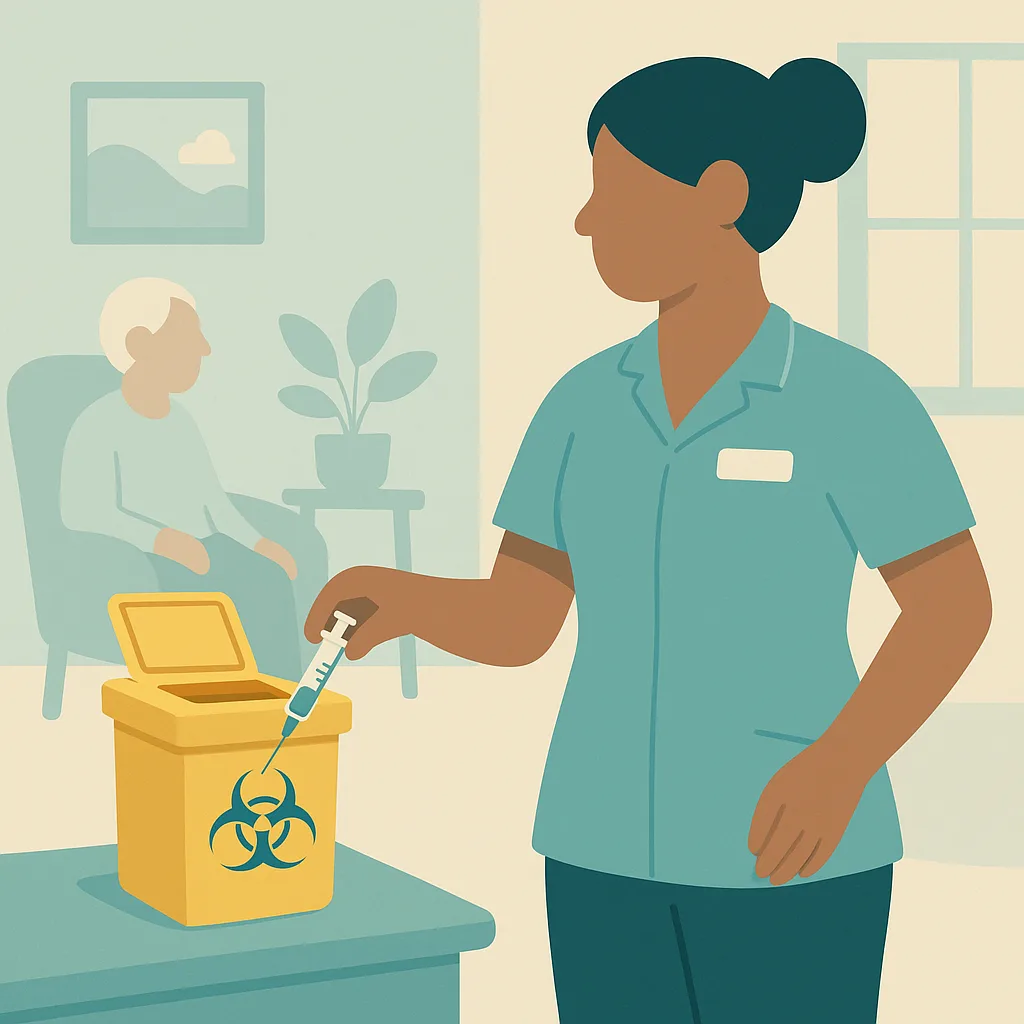
Sharps Safety and Disposal
Immediately after use, place the entire needle and syringe into a sharps bin without recapping. Never pass sharps hand to hand or leave them on surfaces. Sharps bins must be at the point of use, no more than two thirds full, and locked when not in use. Needlestick injuries carry serious infection risks including hepatitis and HIV. If you sustain a needlestick injury, encourage bleeding, wash thoroughly and report immediately.
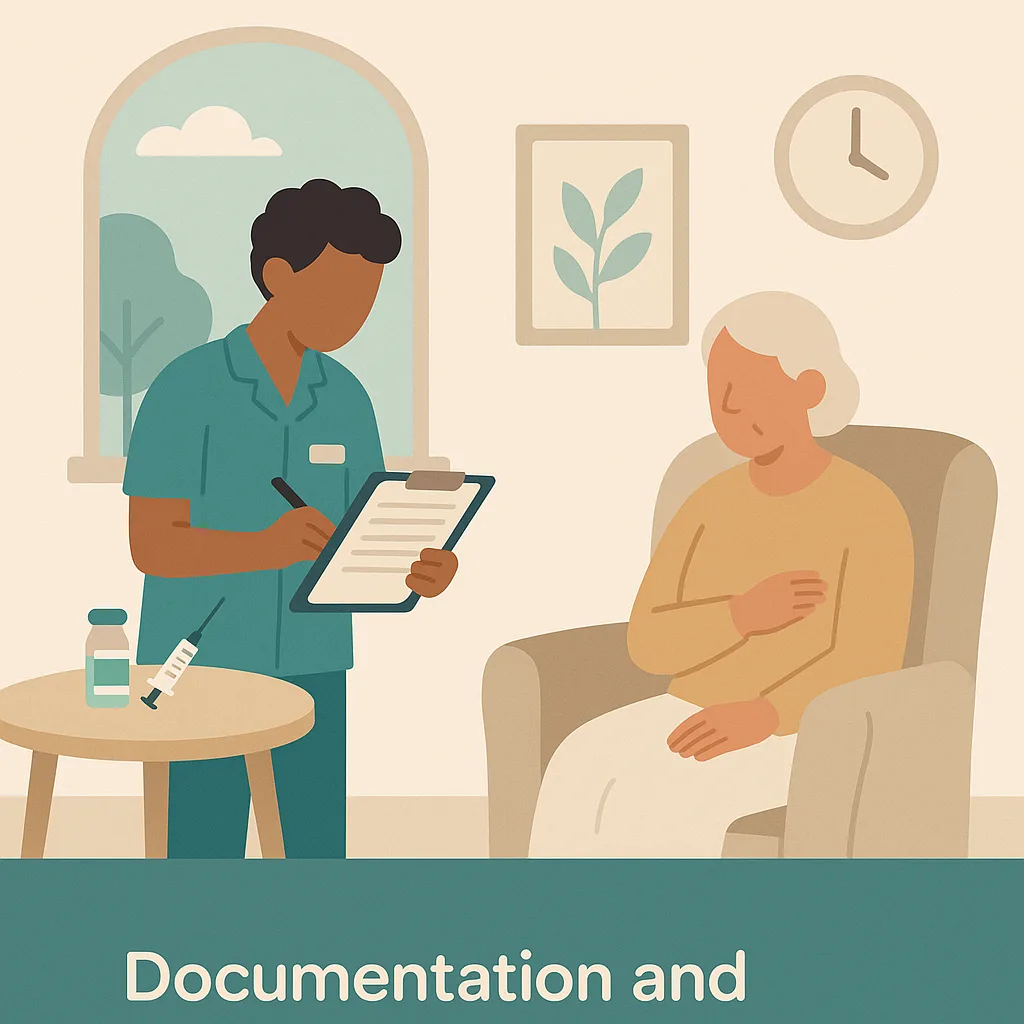
Documentation and Monitoring After Injections
Document every injection immediately in the medication administration record, including date, time, medication, dose, site used and your signature. Record any unusual reactions, bleeding or refusal. Monitor the resident for at least 15 minutes after injections for allergic reactions, especially with new medications or vaccines. Check blood glucose levels as prescribed when giving insulin. Report any concerns about pain, swelling, redness or systemic reactions promptly.
Key Points Covered
The things your team must remember.
- Subcutaneous injections go into fatty tissue; intramuscular injections go into muscle. Each requires different sites, needles and angles.
- Always rotate injection sites and avoid areas with lumps, bruising or broken skin to ensure proper medication absorption.
- Clean injection sites with alcohol and allow 30 seconds drying time. Use strict aseptic technique and new sterile equipment every time.
- Dispose of needles immediately into sharps bins without recapping. Never leave sharps unattended or pass them hand to hand.
- Document every injection immediately and monitor residents for reactions, especially in the first 15 minutes after administration.
- This training covers knowledge only. You must complete practical competency assessment before administering injections independently.
Who and how often
Subcutaneous, Intramuscular and Insulin Injections is refreshed every year, for the staff in your care setting whose roles require it. It includes a practical sign-off.
CQC and standards
Supports the training evidence CQC expects to see for a well-run, safe care setting.
How CareStream Delivers It
Not a slideshow once a year. Training that sticks.
CareStream delivers subcutaneous, intramuscular and insulin injections training in the hub your team already uses, grounded in best practice and your own policies, so it fits your care setting and not a generic template.
Teach, then assess
Short teaching sections and a real care scenario, then an assessment that checks understanding.
In any language
Staff complete it in over 60 languages, while your records stay in English.
Learn and retry
A wrong answer triggers a short follow-up lesson and a fresh question, so the gap is closed.
Renewals handled
Automatic reminders at 90, 30 and 7 days, with a live compliance dashboard.
FAQs
Frequently asked questions.
Give your team subcutaneous, intramuscular and insulin injections training that actually sticks.
See how CareStream delivers your mandatory training in the hub, in any language.